
Cheap Miniature Photography Studio – Portable Light Room Box
Last Updated on January 1, 2024 by FauxHammer
Now, when I say cheap, I’m assuming you already have a £500+ Camera or £700+ Phone for taking the photos with. What I’m going to talk about here is a really inexpensive setup to get more of a studio style to your photos for a low low price. A copy of Photoshop wouldn’t go amiss either (Thanks “old job I left 3 years ago!”).
Also, just as a note one of the reasons behind this post is that I’m trying to commit to at least 1 post a week, and this is something new I picked up this week.
If the only benefit you get from this is following either of the 2 links below, I feel like I’ve done my job and helped you.
Without further ado;
I was inspired to take better photos by the following 2 posts from Tale of Painters blog;
TUTORIAL: BEGINNERS GUIDE TO MINIATURE PHOTOGRAPHY
TUTORIAL: HOW TO PHOTOGRAPH MINIATURES WITH AN IPHONE SMARTPHONE
Some good reading there, select which link you need depending on which device you have, but I’d still recommend both articles. I’d also imagine there are Android apps that do very similar t the iPhone guide and if you have a windows phone ‘hah’ lol.
But, TLDR? Get a tripod with some way of mounting your Camera (It’s a standard screw hole that comes on most SLR Cameras) or Phone to it and buy the thing I recommend below.
What I want to add to these is the removal any complex (assuming you don’t have 2 identical lamps to hand) lighting setup and some of the white balancing you need to do. perfect for the budget/space conscious or if you just want to start out taking better pics of your minis.
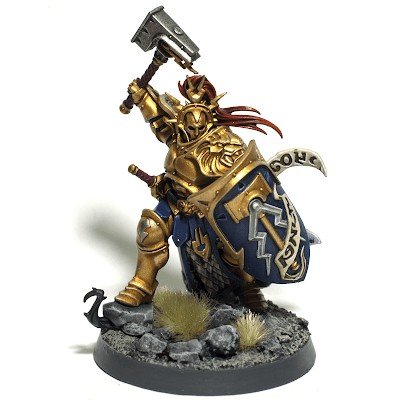
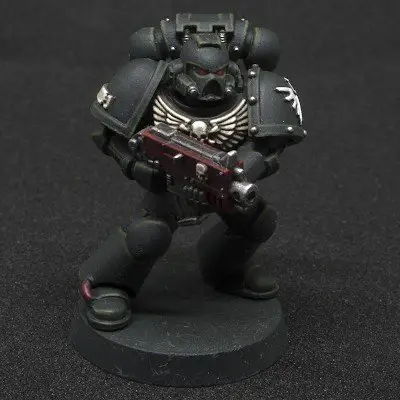
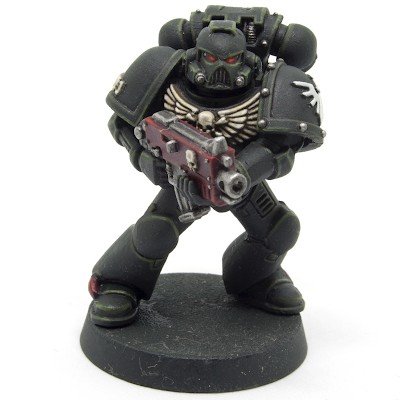
The Initial photos I took (example above) were taken using the guides in the tutorials. A sheet of glossy white paper suspended behind the model with a lamp to light it from above. (I should have had 2 lamps but I didn’t have 2 lamps. Another lamp would have cost me about £15).
The above photo requited all of the suggested white balancing on the camera with a grey card and custom WB. Then required the RAW images to be corrected in Adobe RAW, then had the levels balanced in Photoshop for a pure white background. What you can see here, due to my 1 light source from the front right, I have a shadow to the left and behind the model. So I’m ‘kind-of’ happy, but it’s an arse to set up and edit afterwards and I’m still not happy with the Shadow.
So for s*!*s and giggles, I bought this on eBay (whilst I was drunk)!
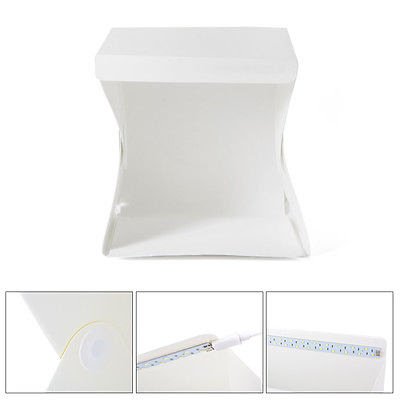
9″ Photography Studio Foldable LightRoom Box Portable Photo Shooting Tent LF755
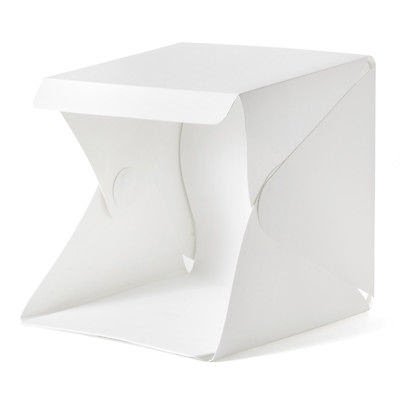
I would not be surprised if the link is dead in the near future, so here’s some more pics of it. (it comes in a little carry back too).
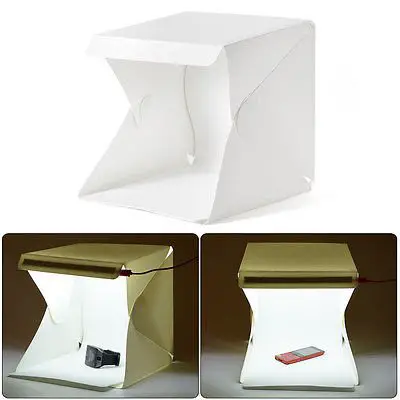
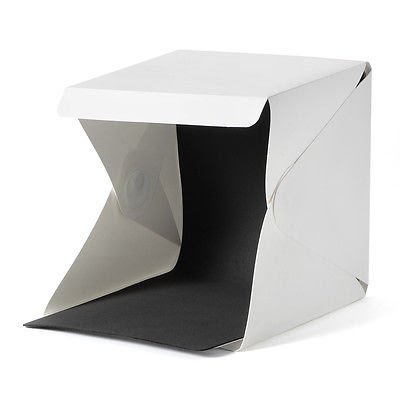
And a “Black” one (more on this in a mo)
So, the reason I bought this (other than the drink) is that it was less than £12 with delivery, why not!
I am incredibly impressed with the results.
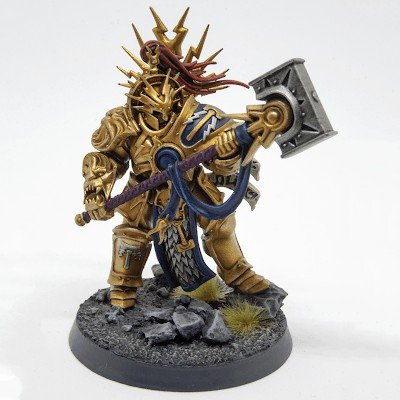
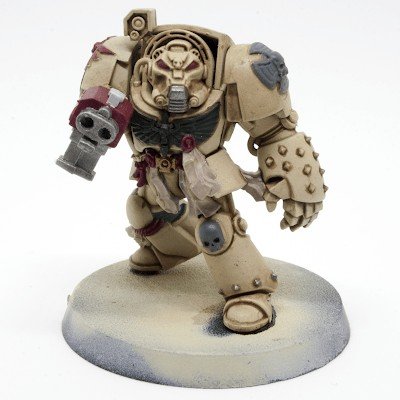
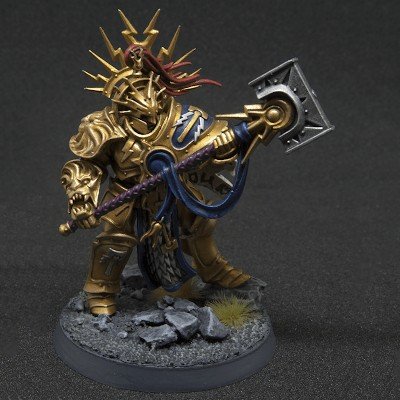
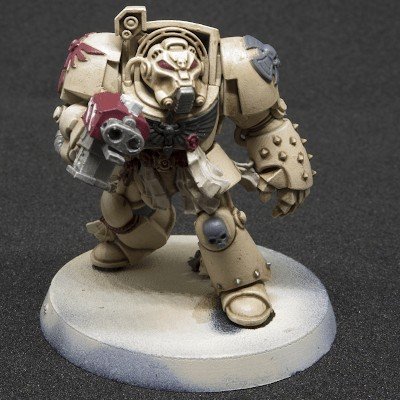
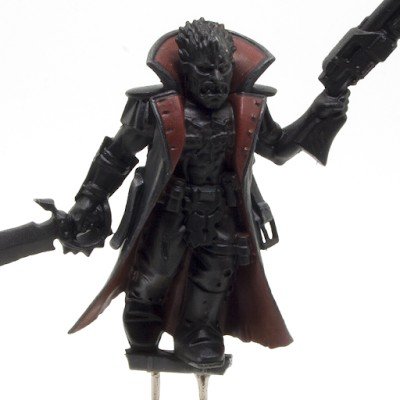
So, using the basic settings on my SLR, (A Canon 400D which you can pick up now with a lens for about £100), a Wide Aperture and Auto White Balance. I took some shots with the White Background.
(Please note, most of these models are unfinished, I’m just showing the photography and lightning)

(I said ‘trying’)
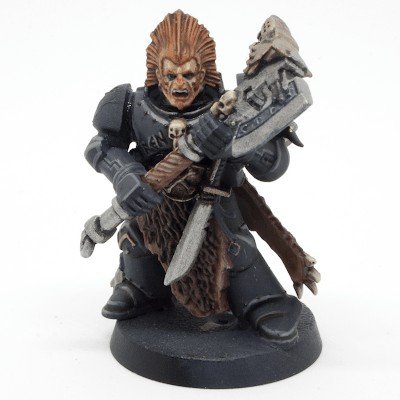
So, generally, pretty good right?
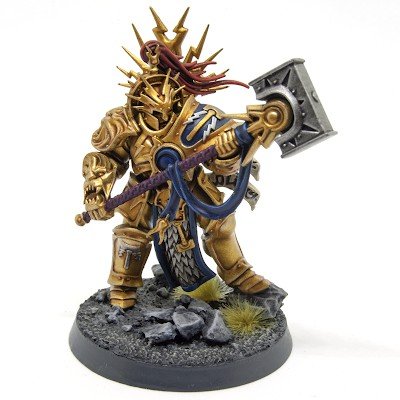
OK so the white background is a bit off-white (wait to you see the black, SPOILER ALERT: They’re Dogshite!) but the Background you get with it isn’t perfectly white. So I have some more tweaking to do. For some As-Shot pictures, they’re pretty good. Literally loaded the RAW’s into photoshop, clicked “Auto” and bang, I’m done. with a bit more tweaking. I can probably get the background to a pure white. Already though, the colour balance across the minis is fairly accurate to life, I have hardly any drop shadow. and they are lit evenly.
The good thing about the material the studio box is made of is that it’s reflective and bounces light in every direction giving a decent lighting balance to the mini.
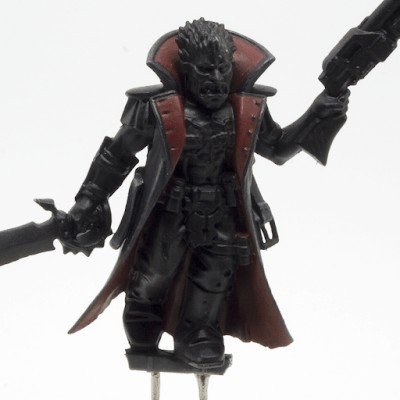
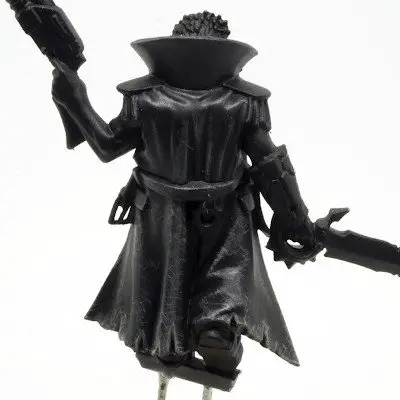
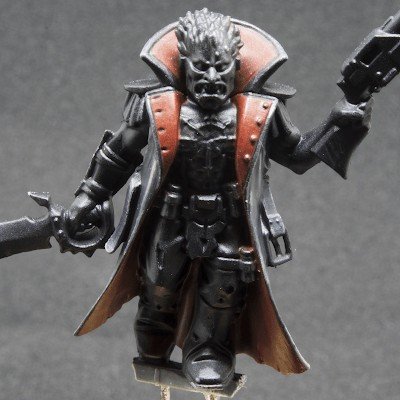
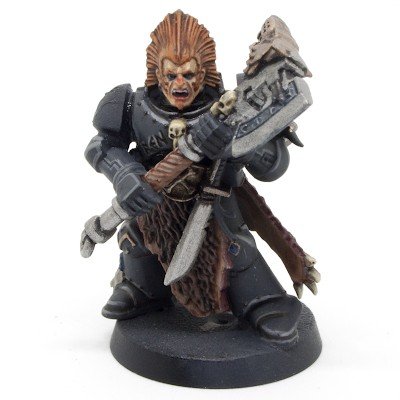
And now the black, I’ll warn you again. They’re s***!
(oops)

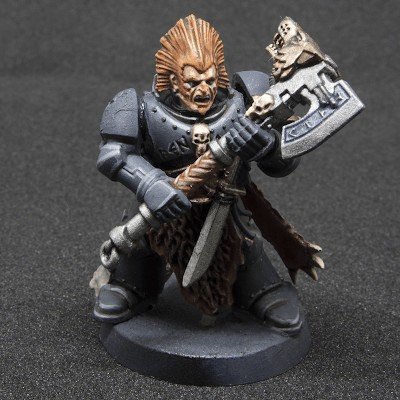
First problem, the “black” background, isn’t f**king black! Again I’m using Auto White Balance so maybe I can do some tweaking here but I’ve never shot with a black background before.
It appears that the light bounces off the foam material so much it literally lightens it to more of a 75% Grey. I am starting to like the darker backgrounds (to look at on other peoples pic, not my crap above) as it completely draws your eye to the detail on electronic displays. I think white is perhaps better for prints. But if I can’t fix this I can probably glue some black paper or a proper backing sheet to one side of the foam and get a better black. let’s have a play.
What I love about this is that I’m limited to hobby space and now my 6-month old son takes up the last room free in the house, I only have the dining table as my play area. Now, once I’ve finished a Mini, I can easily whip this out and snap some half decent shots and hide it away again in a drawer.
The great thing about photographing your minis well is that you can see your mistakes better and that gives you more pointers on how to improve. In ways which you may have never noticed before!
Go buy one.
FYI: It’s not me selling these and I make nothing off you buying one, this is purely just my opinion on them.
Also, I don’t know how to get referral links working to make money of you :(
Updated: 06/10/16.
Figured out (thanks to a friend) Photoshop has a tool on the White Balance Layer where you can just use the dropper on the white and get a perfectly white background. Makes the model slightly lighter but it’s not into the realms of unrealistic.


Awesome mate lol I'm not sure I'll ever want black, but I've been struggling with photos for a while now, so just dumped £12 on one as well.
Interesting you use Raw, I normally am too lazy, so maybe I'll try and that and whack it in PS and do the auto trick as well.
I want to see how black looks personally but the backing for black is awful and unusable! I've tried so much to balance to the colour but its just ridiculous.
White is nailed, shoot in RAW< you capture so much more data and can do amazing things with the lighting afterward in Adobe RAW.
I just figured out the dropper tool on the levels layer to set the white (blog updated) so I'm beyond happy now (for white backgrounds) anyway.
For £12, can't argue